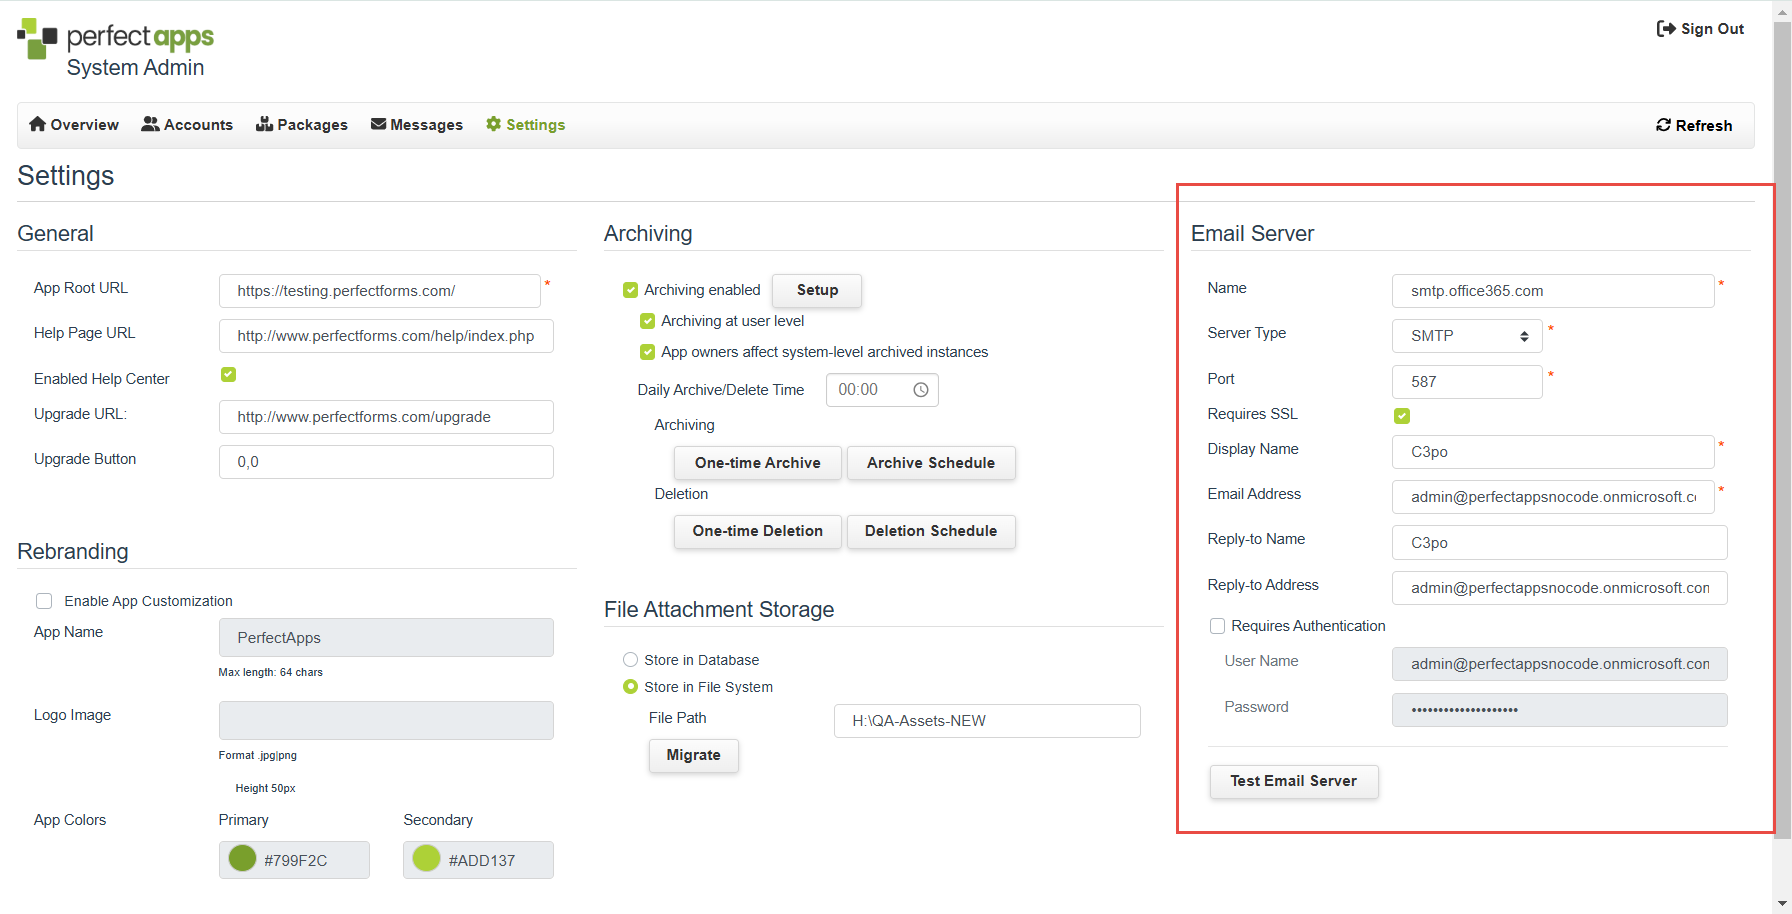
In order for notification e-mails and system e-mails to be sent, you must set up an SMTP e-mail profile that PerfectApps can use as the default for the system. As the application root URL and e-mail profile are defined during installation, use the Settings page only if you need to change these settings later.
|
1.On the Settings page, in the Email Server section, enter the profile information:  •Name - This is the address of the SMTP server (IP or other). •Server Type - Currently only SMTP e-mail servers are supported. •Port - Enter the SMTP port number on the server that will be used. •Requires SSL - Select this check box if PerfectApps e-mails will be sent through a Secure Socket Layer. •Display Name - This is the name that will be shown in the received e-mail. •Email Address - This is the address that will send the messages. •Reply To Display Name (optional) - This is the name that will be shown if the app user decides to reply to a system e-mail. •Reply To Email Address (optional) - This is the address that will receive any replies from users. •Requires Authentication - Select this check box if the SMTP server requires a username and password in order to send the system e-mails. •Username - Enter a valid system username that has access to the server. •Password - Enter the system password for that username. 2.Click Apply. 3.Click Test E-mail Server to verify the e-mail server was configured properly. |
See also: Setting Maintenance Options
Return to: Settings, Administering PerfectApps On-Premise, PerfectApps On-Premise

